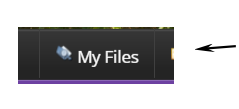
Once signed in, click on My Files which is located on the dashboard (Bottom Bar).
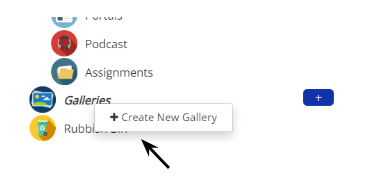
My explorer will display. (This is your file Library). On the left side, right click on “Galleries” and it will display a box that says “+ Create New Gallery” Click on that button.
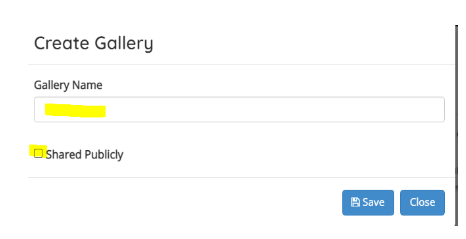
Add a Gallery Name to the text field.
The “Shared Publicly” box should be checked off. This just means that the gallery will display on the slideshow widget.
Click Save.
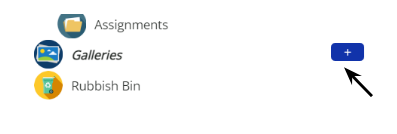
Once you save the Gallery, it will take you back to my explorer. Click the + to display all the galleries.
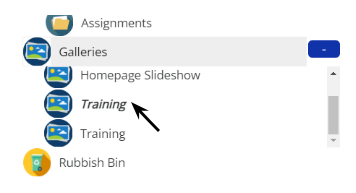
When the gallery is clicked, you will see it turn Bold and Italic.
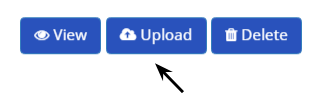
On the right side, there are 3 buttons. Select “Upload” and a white box will drop down.
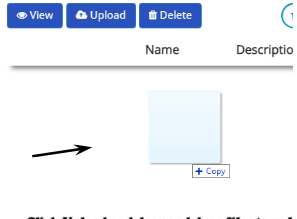
Drag and drop images to the white area box, or if you click on the white box, it will open your computer library to select the images.
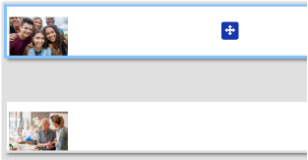
Once you drop the images, they will display underneath the white box area and you will be able to view the images. You can drag the images up or down to change the order.
- Right clicking the image will give you the option to edit. In the editing box, you can add a description and a button. For the button to display, add a Link title and link URL.
Once all the images have been added, exit out of my explorer and refresh the page.
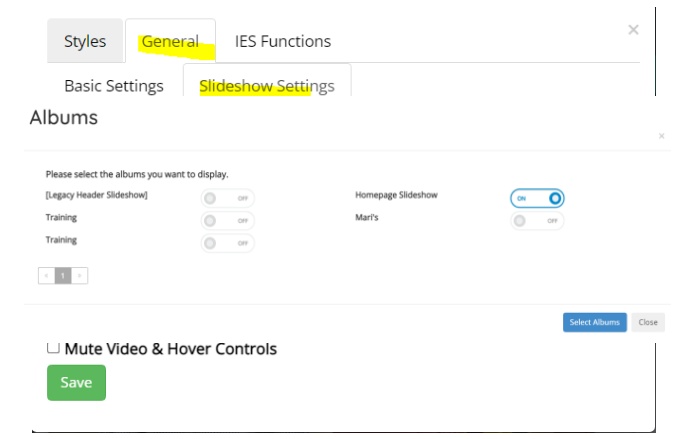
Click on the Slideshow widget settings
- (If you do not have the widget yet, you can add it by clicking on the green + sign or the button that says “Add Widget”. The slideshow widget is called “Slideshow Modern”).
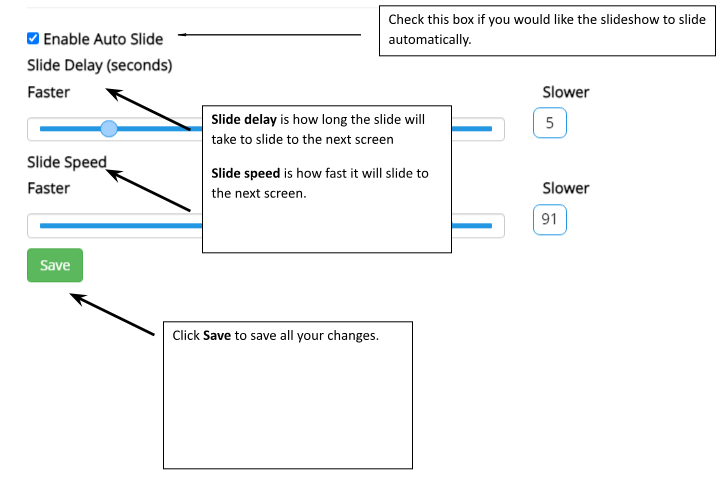
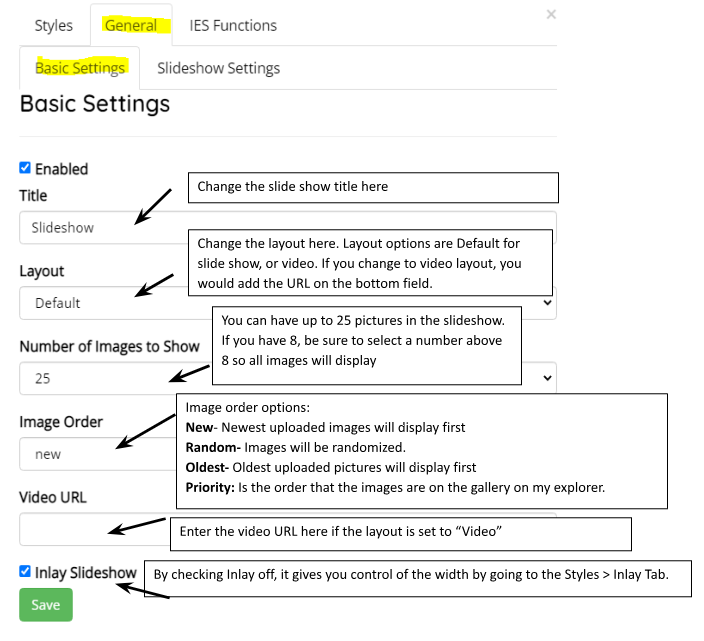
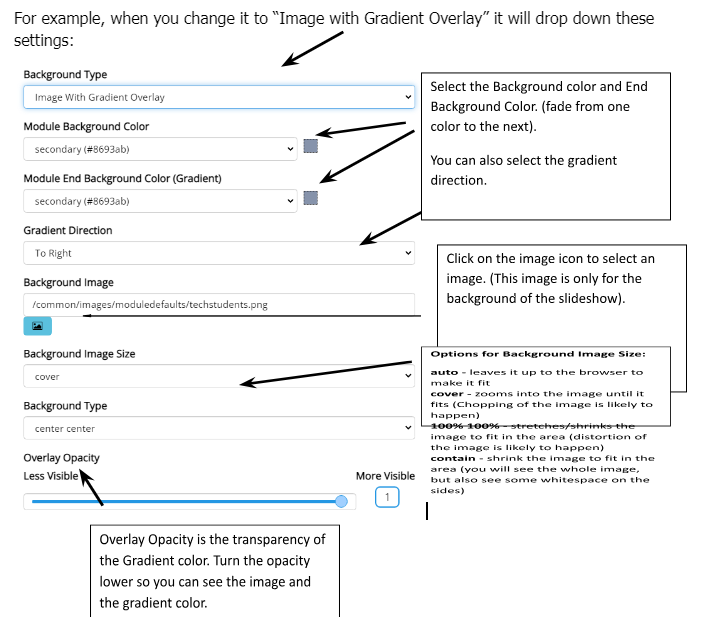
Below are the slideshow settings:
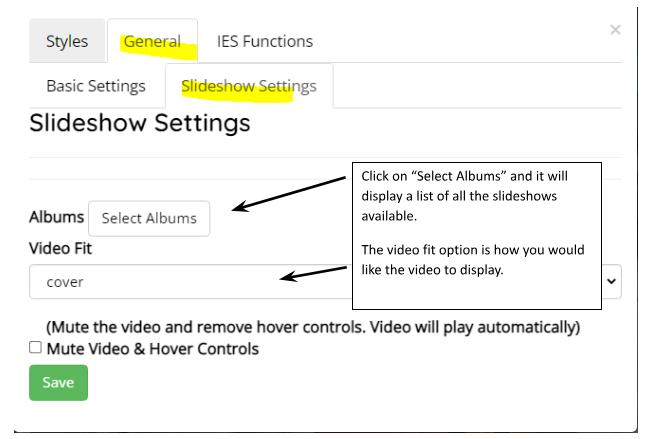
When you click on “Select Albums”, it will bring you to this screen. Toggle on the slideshows you would like to display. Once they have been selected, click Select albums.
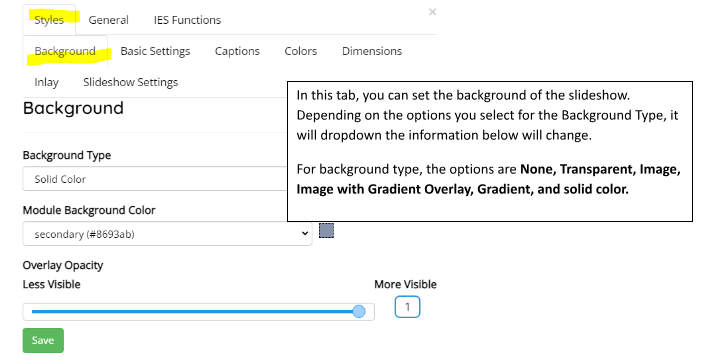
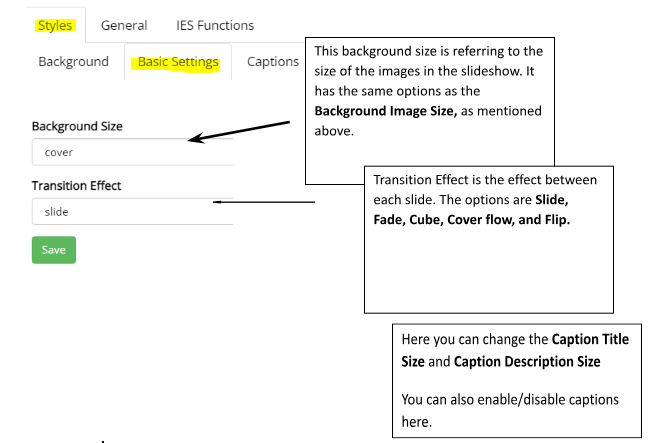
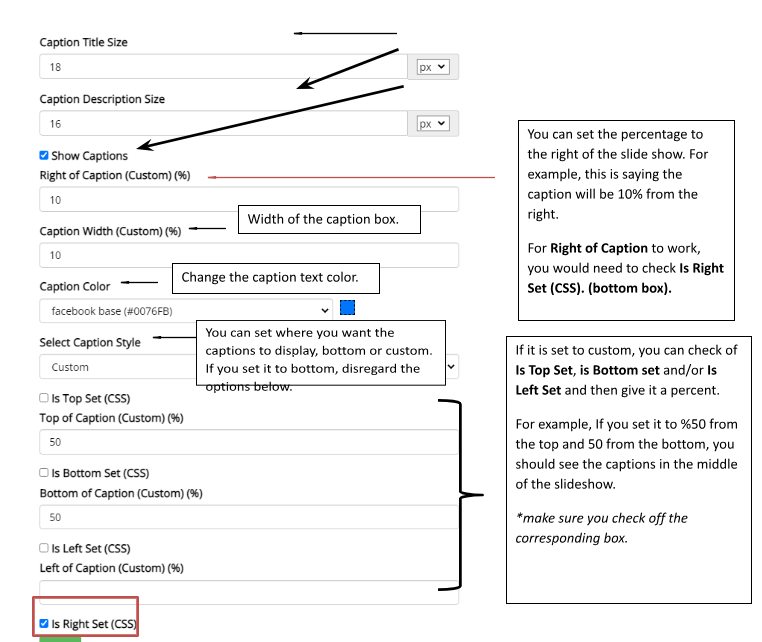
If you added captions under the gallery, you can find the options under–– Styles > Captions.
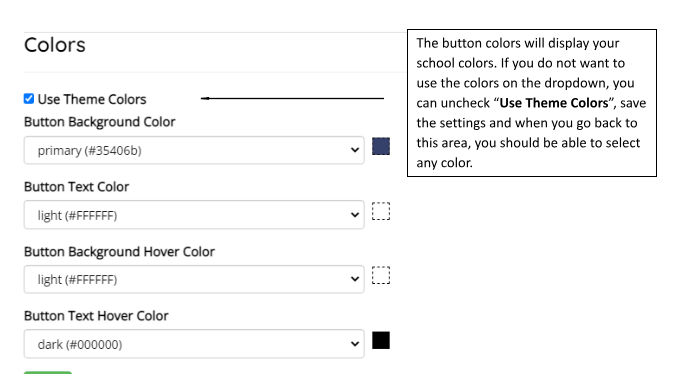
If you added a button under Gallery (when you edit the image). You can change the button colors under Styles > Colors.
Under Styles > Dimensions, you can change the Height of the slideshow.
Styles > Slideshow Settings: